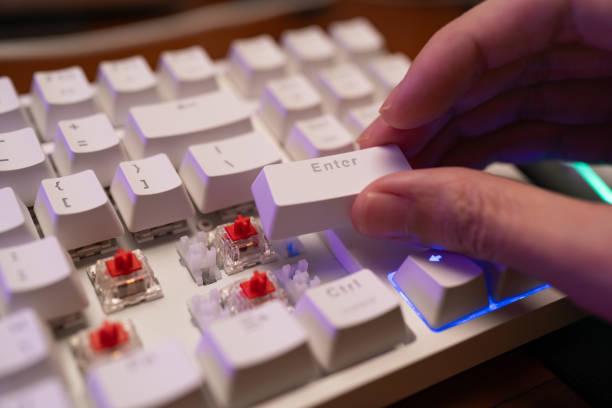
Mechanical keyboards are becoming popular over the years — and there are lots of reasons to love them. Aside from their durability, mechanical keyboards are satisfying to use and are famous for their tactile and efficient responsive feedback to every keystroke. Besides, they are by far more customizable compared to their membrane counterparts. They let you modify everything from the switches to the keycaps and RGB LED, and even support a host of other mods, including lubes, custom stabilizers, and PCBs!
But if you want to fine-tune every area of your peripherals, you can simply build a mechanical keyboard yourself. The idea of building your own keyboard may sound daunting,but this post will guide you through all the steps on how to build your own custom mechanical keyboard.
How To Build a Mechanical Keyboard: Items Needed
You’ll require lots of tools and components when assembling your keyboard. However, some of the essential tools needed are the PCB, case, switches, and keycaps. On the other hand, the lube and foam dampeners are optional components. If you want your building experience to be hassle-free, we’d suggest getting a hot swap PCB that enables you to install the switches. This way, you’ll reduce the time spent soldering each switch manually to the PCB. It’s a good idea to go through the checklist below and ensure you’ve got all the listed items on hand before going around assembling your keyboard.
- PCB
- Keycaps
- Case
- Stabilizers
- Switches
- Foam dampeners (optional)
- Lube (optional)
Furthermore, some of the tools required include a Phillips screwdriver, switch pullers and a pair of tweezers. You should also get keycap to help remove the keycaps and switches safely from the PCBs for the instance you want to change their placements during the building process. A soldering kit will also come in handy for installing the switches onto the PCB.
How To Build a Mechanical Keyboard: Choosing Your Keyboard Layout And Size
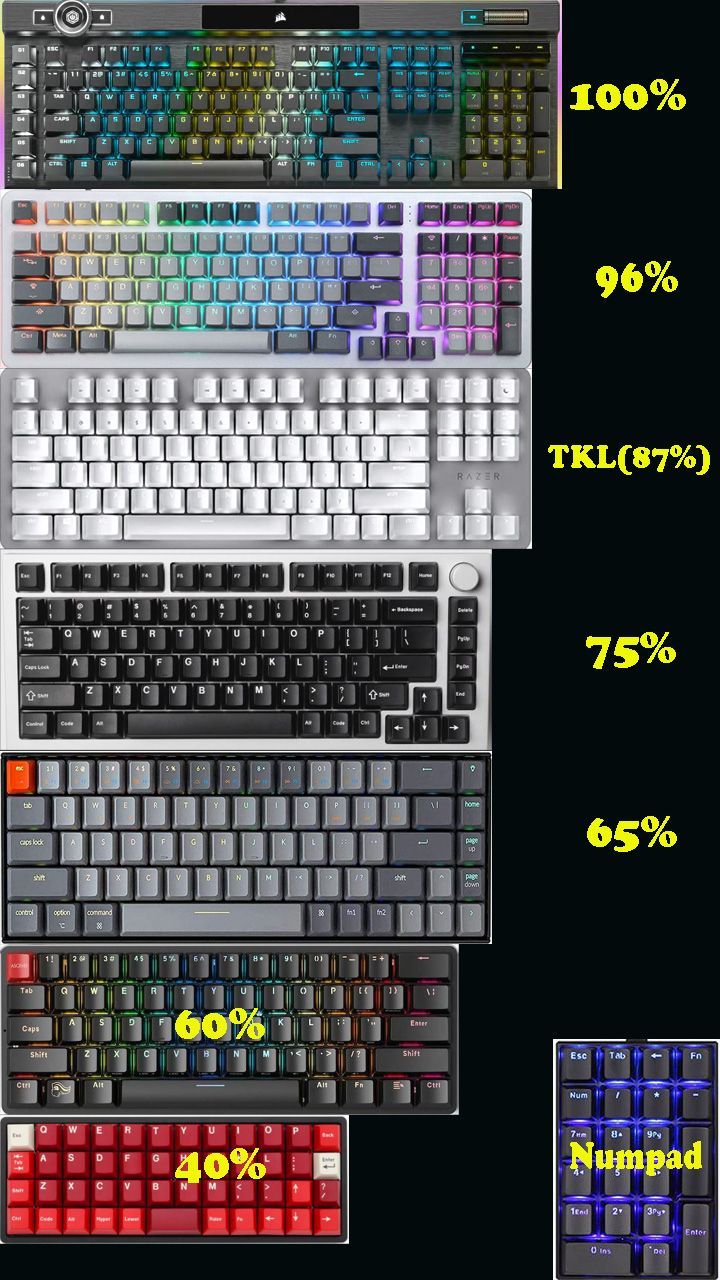
The first step to building your mechanical keyboard involves choosing a form factor that resonate your needs. The keyboard’s form factor is a major determiner of the size of the PCB and the number of keys to slot in. Most PCBs comes in one of these four form factors:
- Full-size keyboards: Comes with all 104 keys, including four arrow keys, a Numpad, and twelve function keys. Although 100% keyboards offer a lot of versatility by enabling you to macro-program keystrokes, they’re also the bulkiest and take up a lot of desk space.
- Tenkeyless (TKL) keyboards: The number of keys is reduced to 87 by eliminating all of the Numpad. These appear more compact than their full-size counterparts and as such, can create some desk space for your mouse.
- 75% keyboards: Further reduce the key count by removing end, home, and three other keys. They also cut down the space between the arrow keys and all of the alphanumeric keys to strike a perfect balance between size and functionality.
- 60% keyboards: They’re the most portable option as they take up the least amount of space. However, the PCBs for 60% keyboards do not have function, arrow, or navigation keys, meaning new users may find it hard getting accustomed to them.
You’ll also need to select a layout for your keyboard, which determine your keycap and stabilizer placement. While there are lots of layout variations such as QWERTY, AZERTY, and QWERTZ, we’d recommend keeping it simple by picking the universally accepted QWERTY layout.
How To Build a Mechanical Keyboard: Getting Started
There are specific preliminary steps you need to complete before assembling your keyboard.
Testing the PCB
Before assembling your keyboard, you should ensure the PCB is in working order. To do this:
- Locate the keyboard tester on your system.
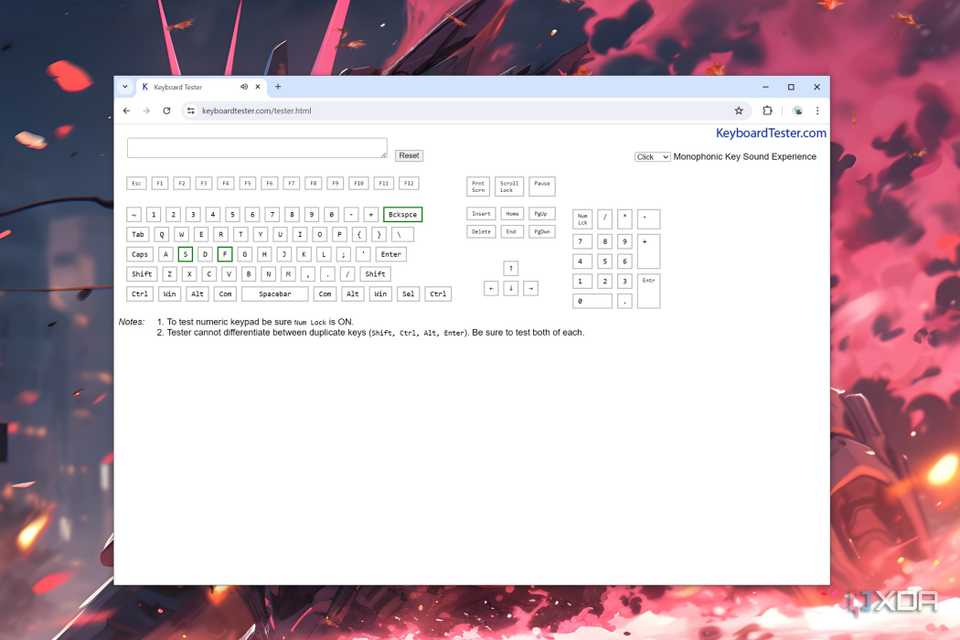
- Connect the PCB to your system using a USB cable.
- Use the tweezers to touch the switch sockets on your PCB.
- Make sure that the keyboard tester register the key you press.
- Repeat the same process for all the keys.
Building Your Mechanical Keyboard: Lubing the Switches
If you’re hoping to get a smooth typing experience, consider adding lube to the switches before fixing them on the PCB. This process can be a long and tiresome, but lubing the switches will prevent them from making annoying clicking or grinding sounds.
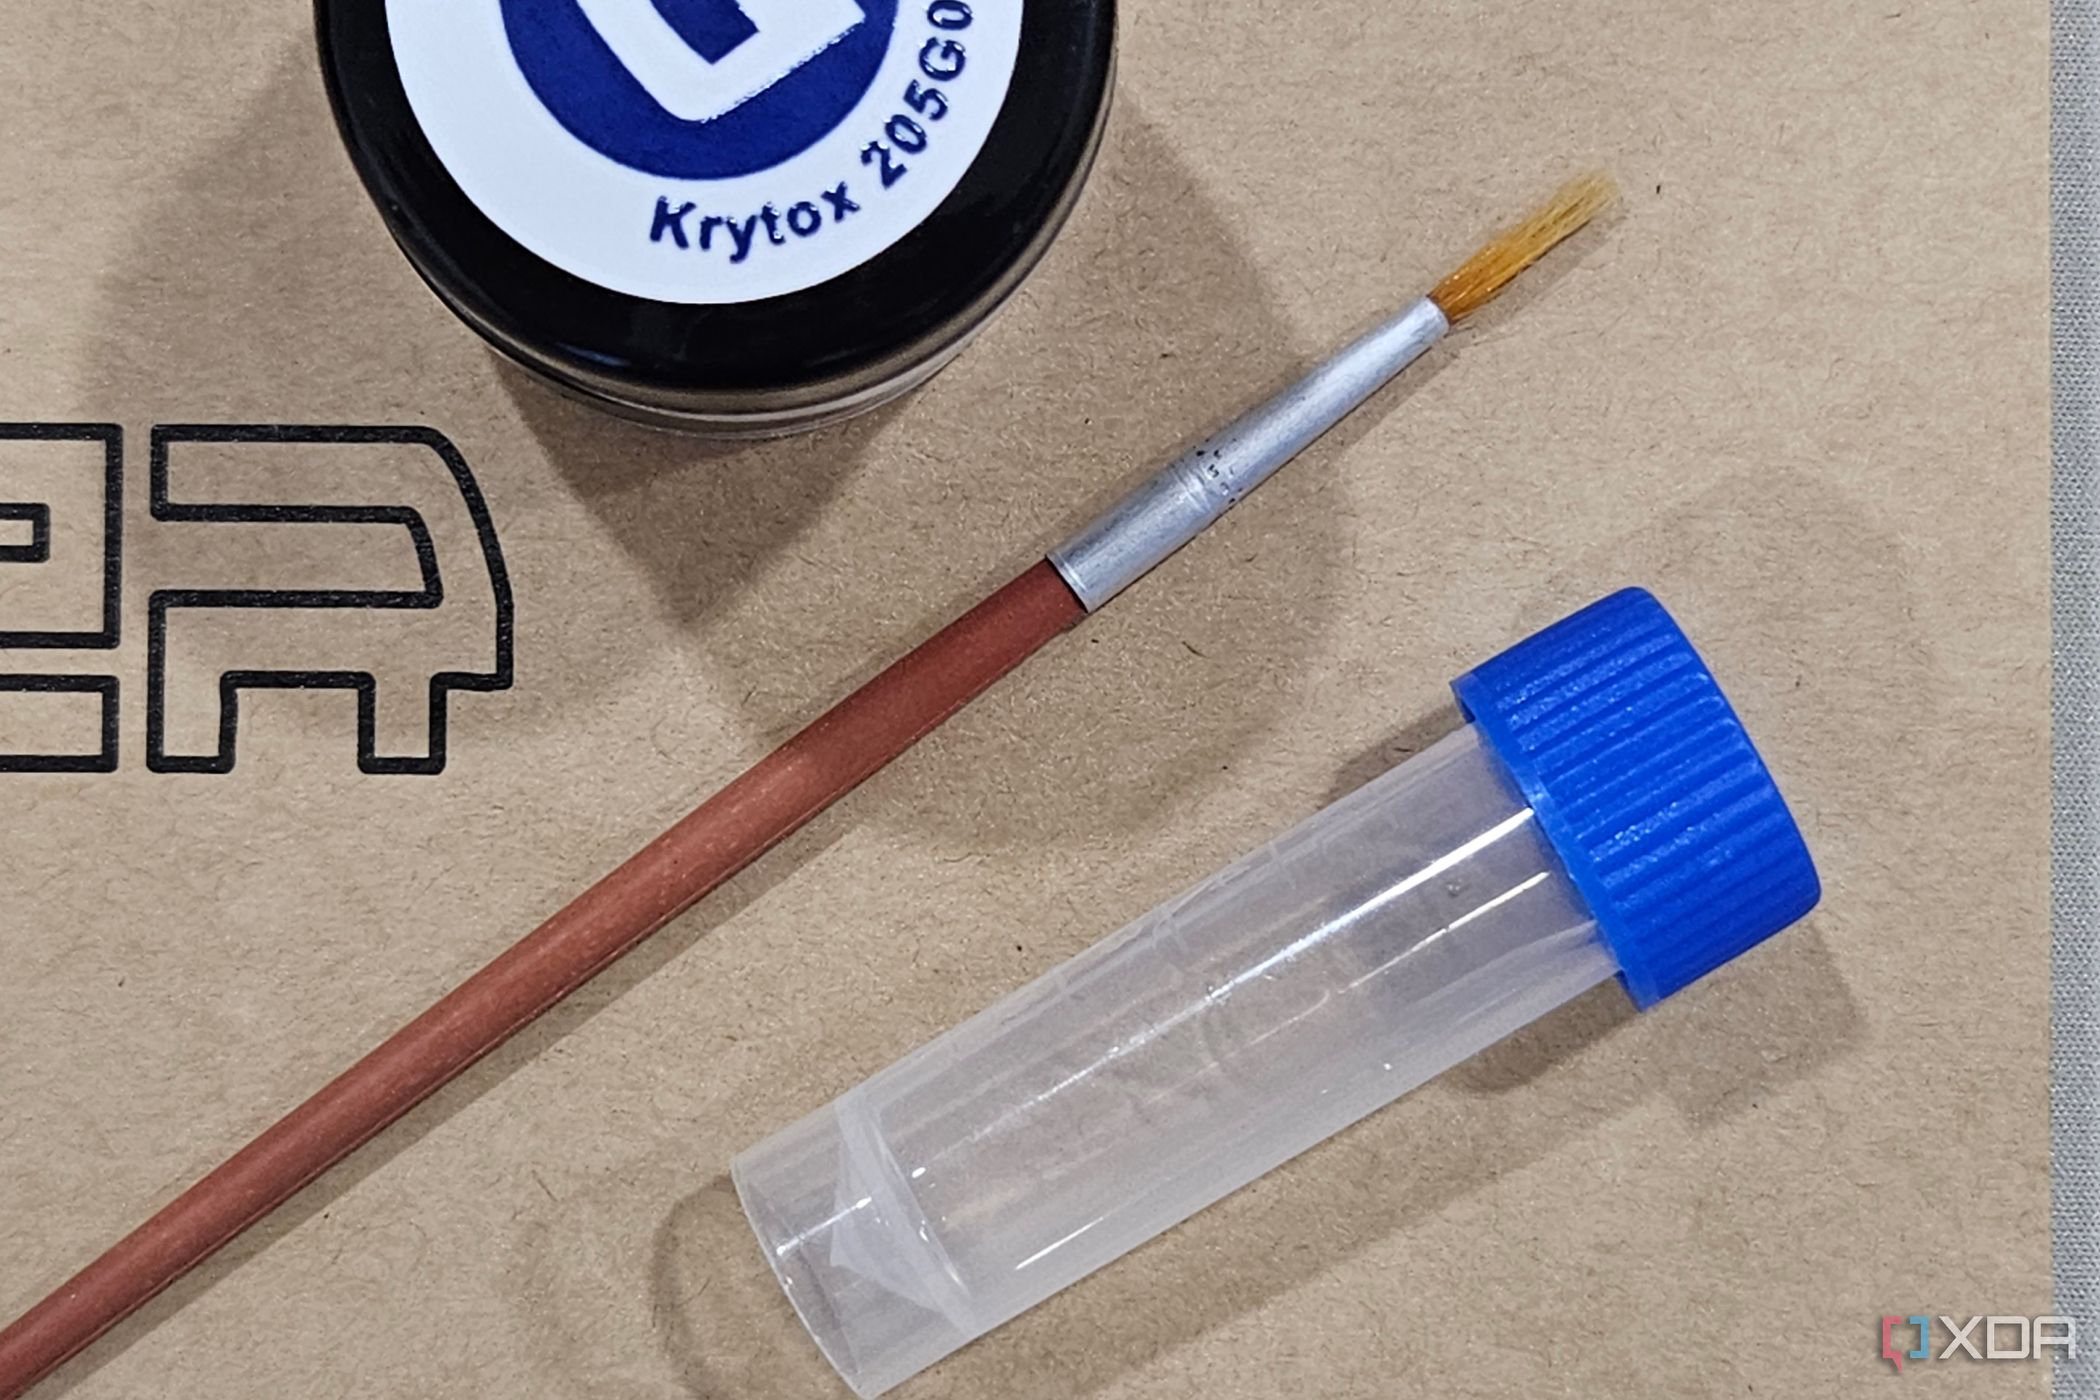
The spray lube is also a good alternative if you don’t want to spend the whole day manually brushing each switch. Unfortunately, spray lubing can be a very messy method, so remember to clean up the switches (and your desk) immediately after.
Building Your Mechanical Keyboard: Installing the Stabilizers
A stabilizer has two housings and two stems connected through a bar or a wire. Before adding it to the PCB, you will have to assemble the stabilizer. Here’s how to get it done:
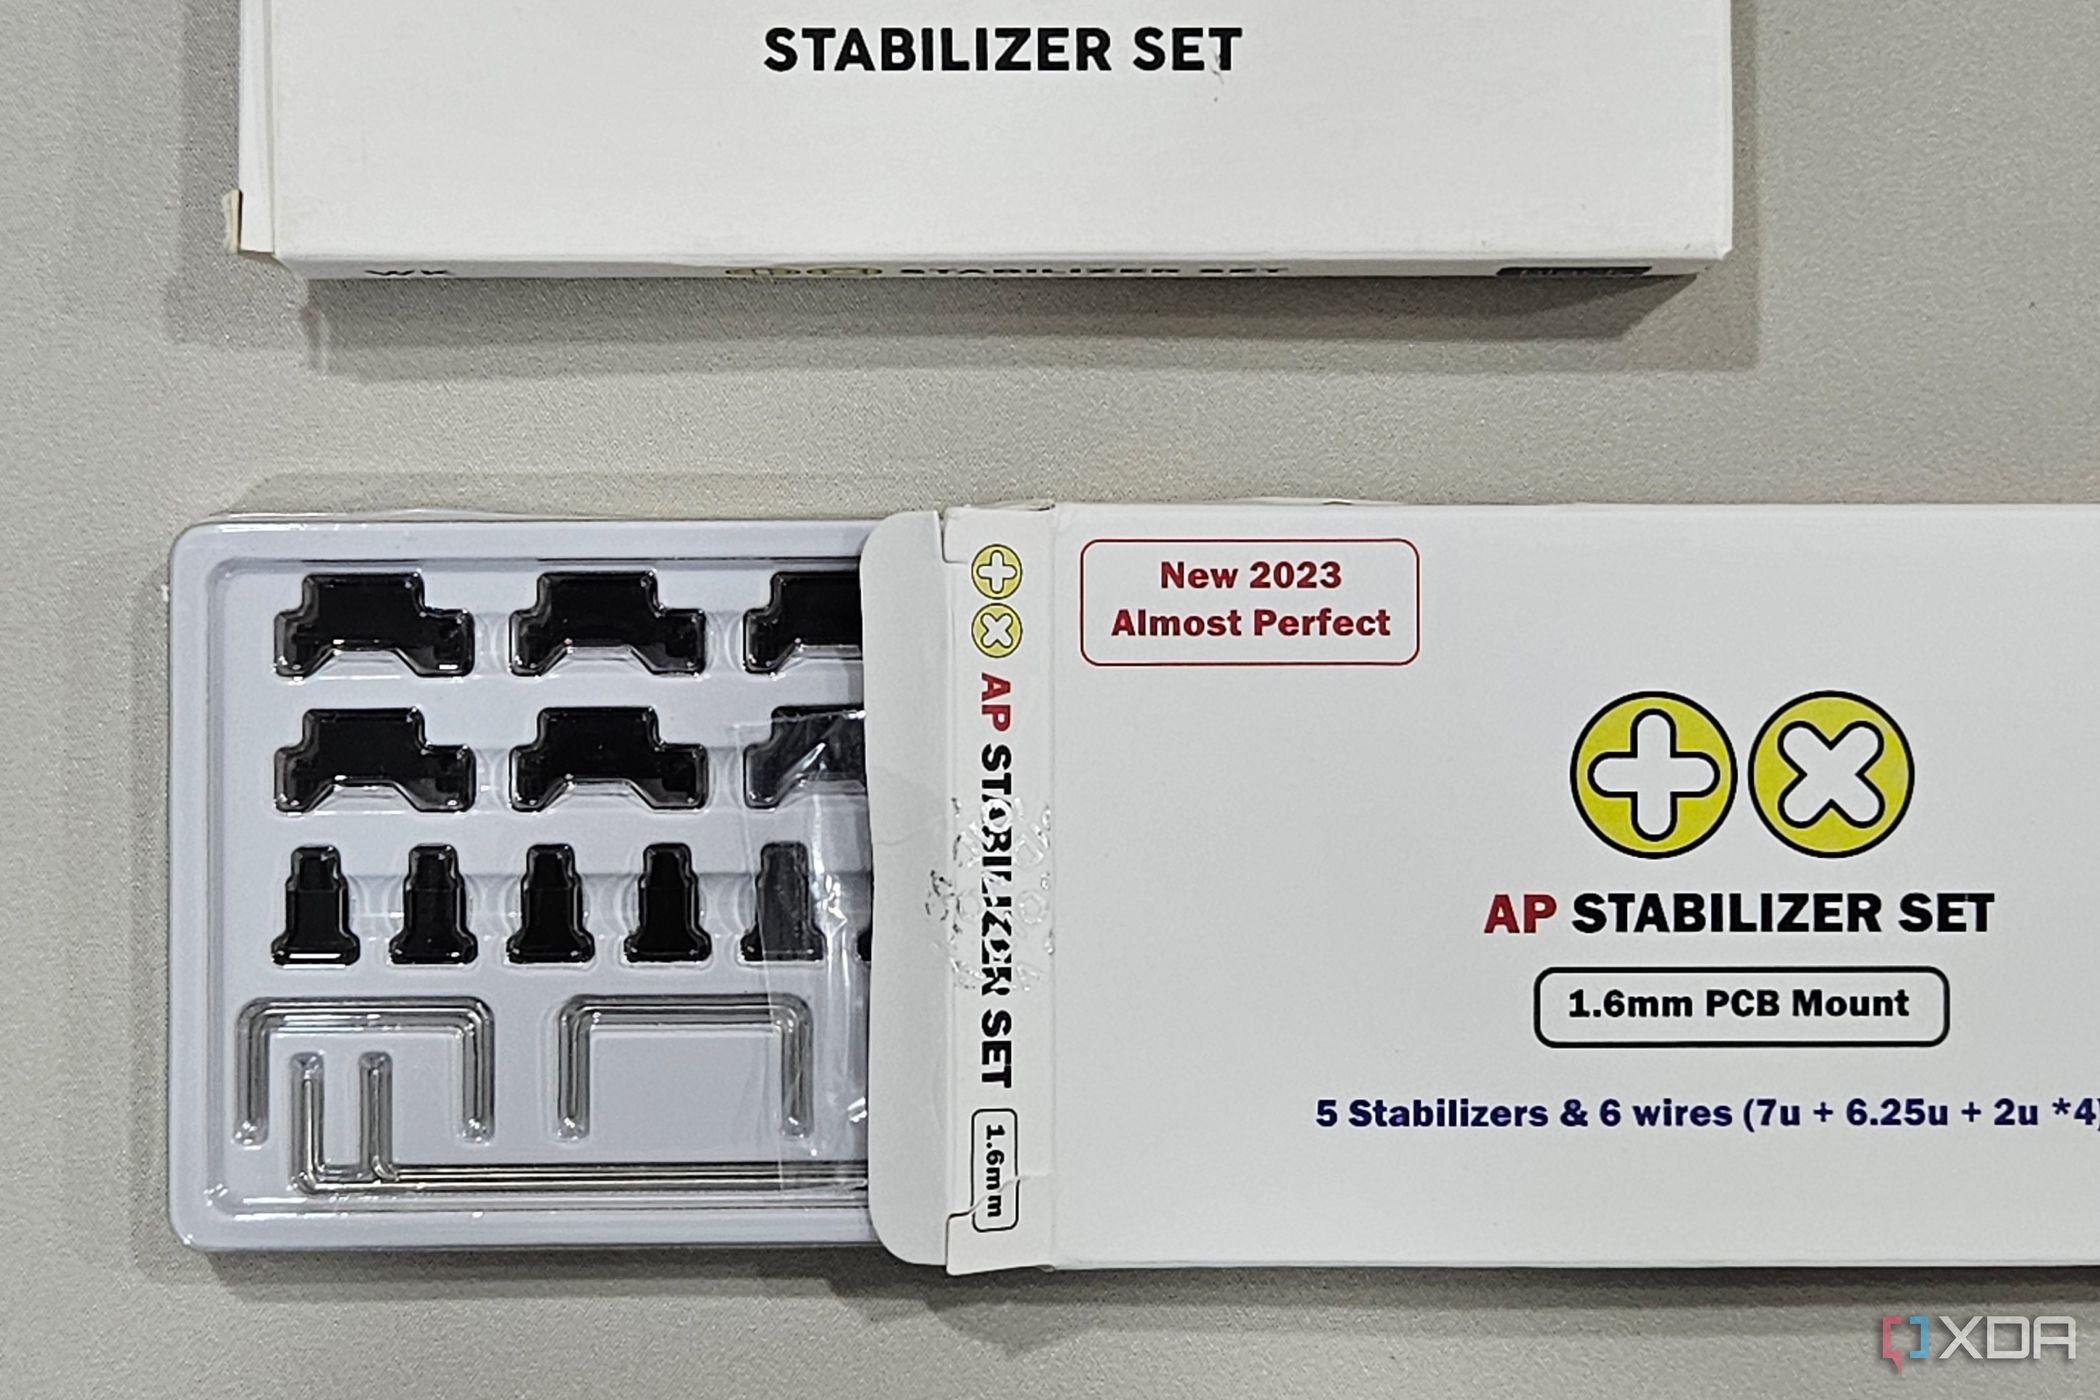
- Place the stems into the housings so that the stem side with the plus shape is facing upward.
- Assemble the stabilizer by placing the bar into the bottom cutouts of both stems and housing sets. Push it until it clicks.
- Place the assembled stabilizer on the PCB. Then use the Phillips screwdriver to place a screw on the smaller socket of the PCB.
- Repeat the same process for the rest of the stabilizers.
Building Your Mechanical Keyboard: Installing the Switches
The difficulty of this step is determined by the specific type of PCB being used for the assembly. With hot-swap PCBs, installing the switches is quite simple – just place them on the PCB and press down until they fit into place.
On the other hand, you will have to solder the switches if your creation has a standard PCB. To do so:
- Attach all the switches to the PCB before soldering them.
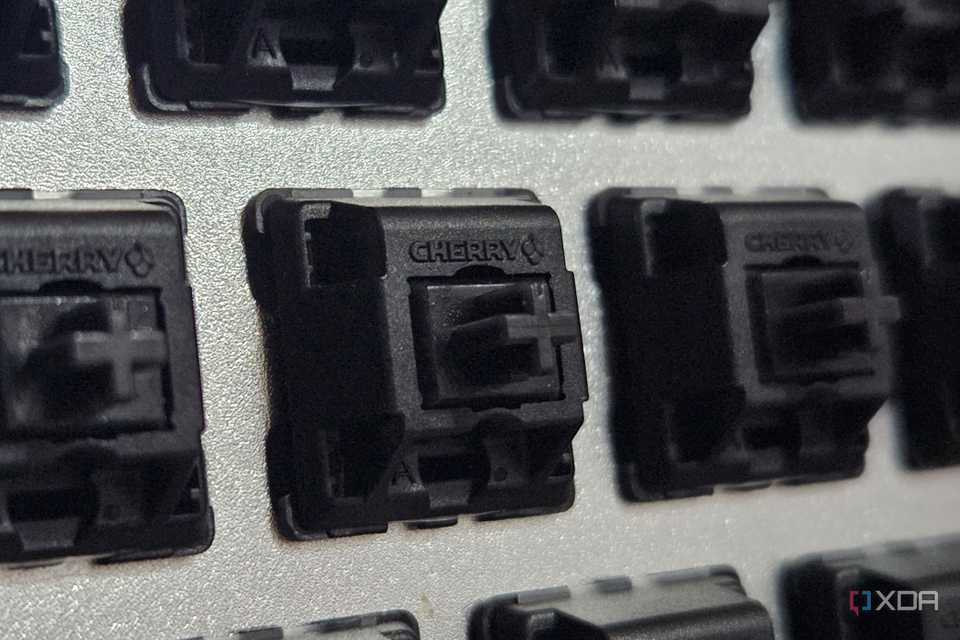
- Ensure the stabilizers are in the correct sockets.
- Flip the PCB, in a way the side with the switches faces down.
- Heat the soldering gun up to 350 degrees Celsius.
- Hold the gun close to the PCB socket using the switch leg poking out and place the soldering iron close to the gun.
- Touch the soldering iron using the gun for two seconds until it melts and create a cone around the socket.
- Repeat the same process for the remaining switches.
Building Your Mechanical Keyboard: Adding a Case
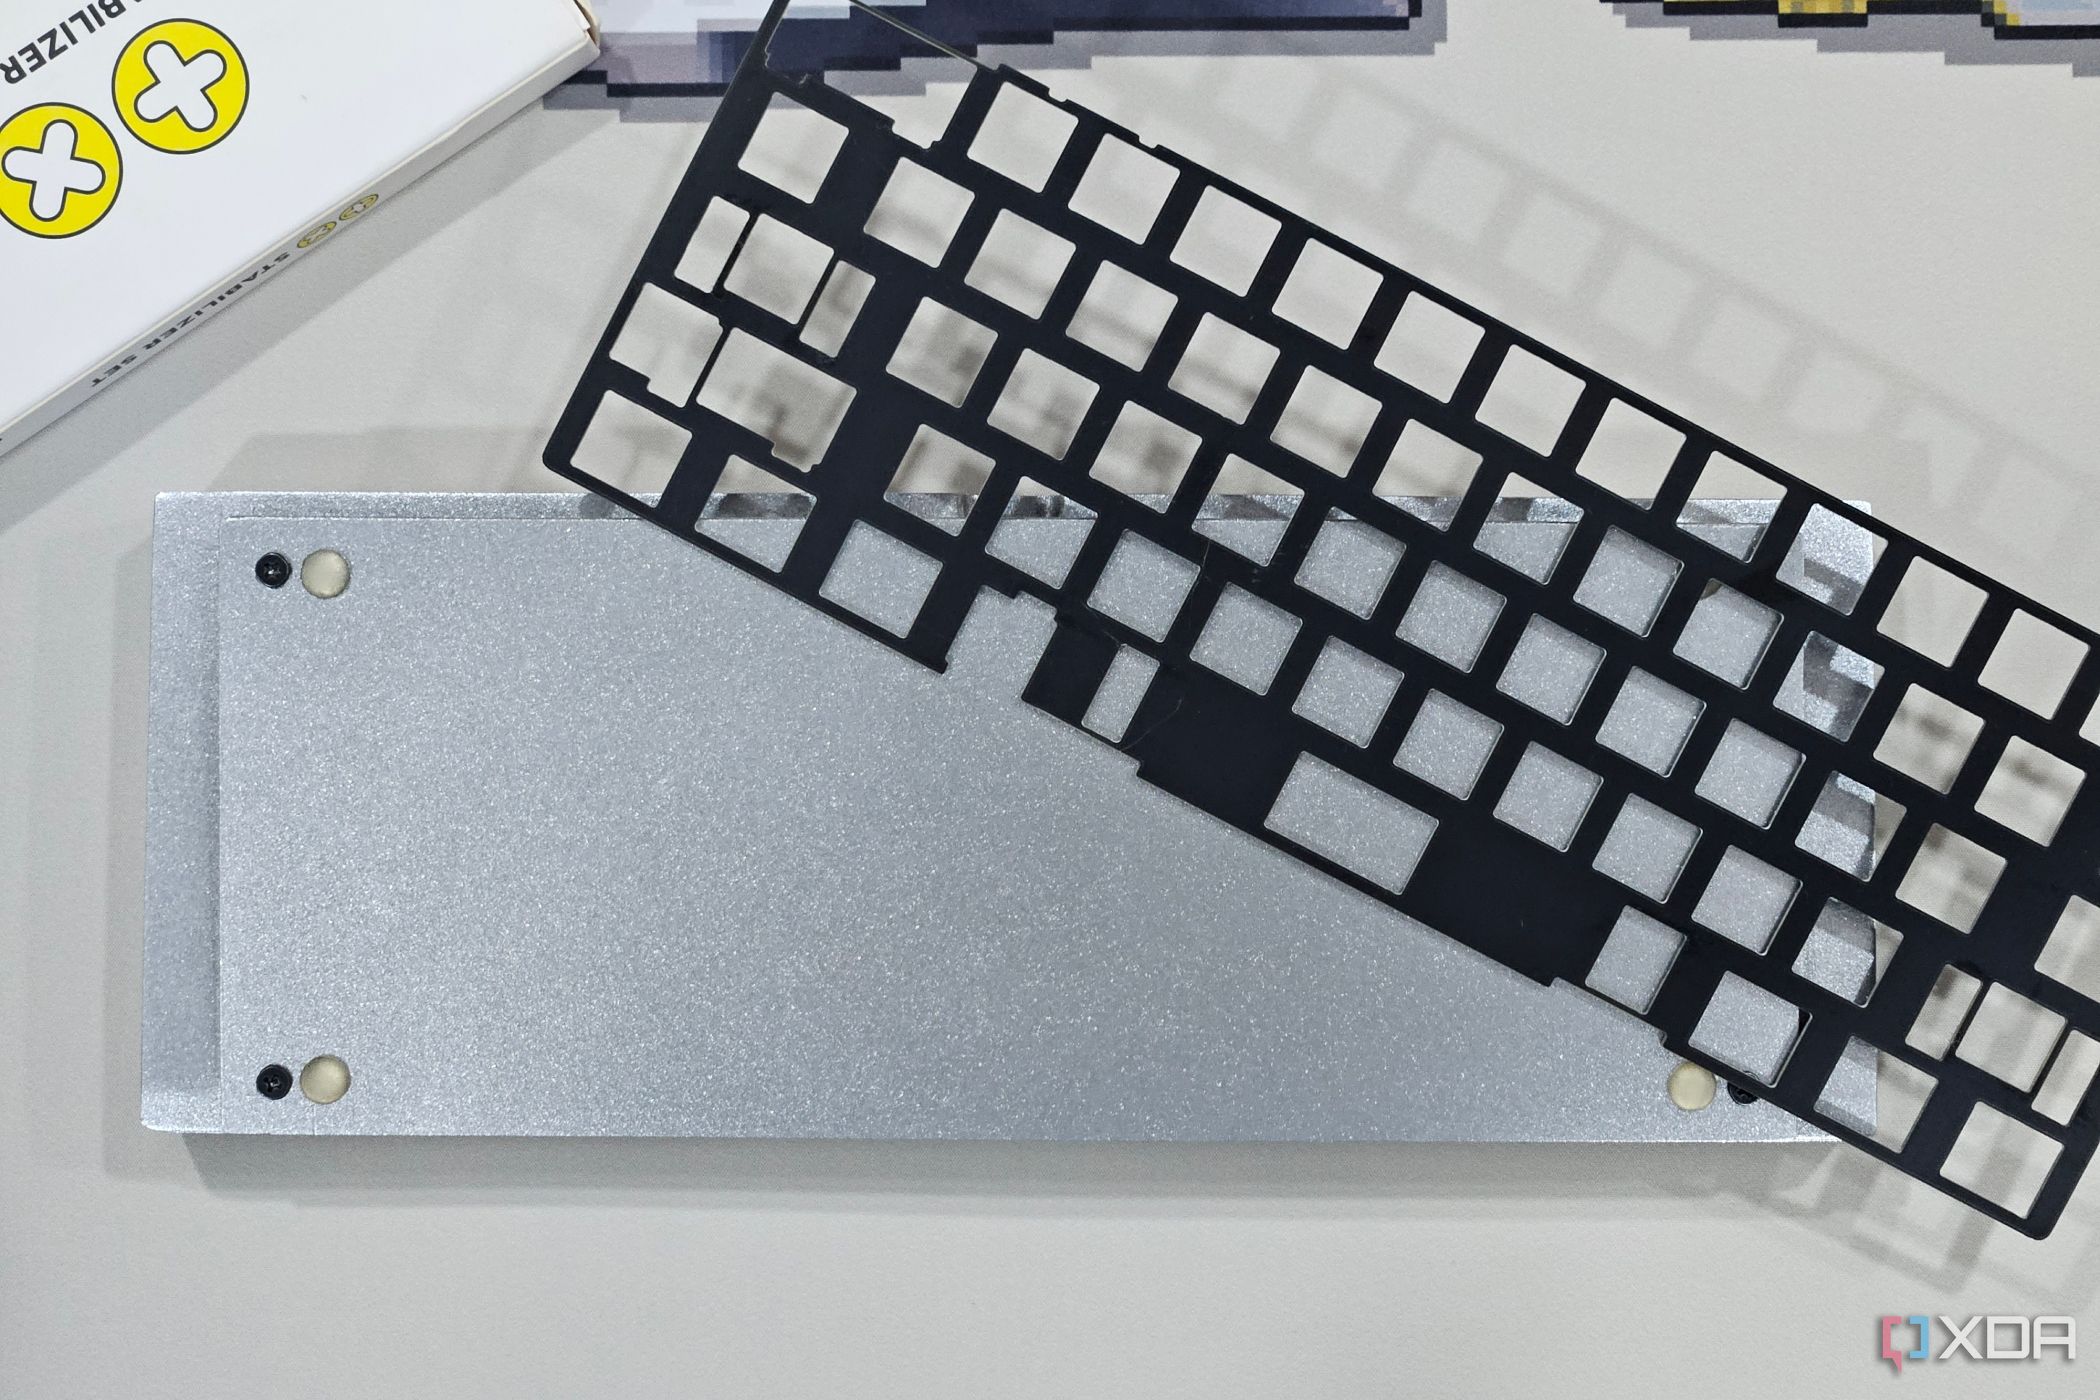
After installing the switches, the next step is to mount the assembled PCB in a case. Look for noise-dampening foam pieces and add them to the case before putting the PCB. Then, place the PCB in the case using screws before moving on to the last step.
Building Your Mechanical Keyboard: Installing the Keycaps
The final step is inserting the keycaps onto the switches. The cross-shaped sockets on the underside of the keycaps will align seamlessly with the stems of each switch. Just position the keycaps over the switches and push down until they snap into place. It is recommended to have a key layout chart and keycap puller on hand for easy installation.
Conclusion
Congratulations, you have now successful build of your own custom mechanical keyboard. If desired, you can program the keys to personalize your new keyboard even further. Additionally, there are numerous PCBs available that allow for the addition of extra macro keys, which can be remapped to execute various functions using tools like PowerToys.

